Showing posts with label custom made. Show all posts

Thursday, December 26, 2024

Lots of Gold

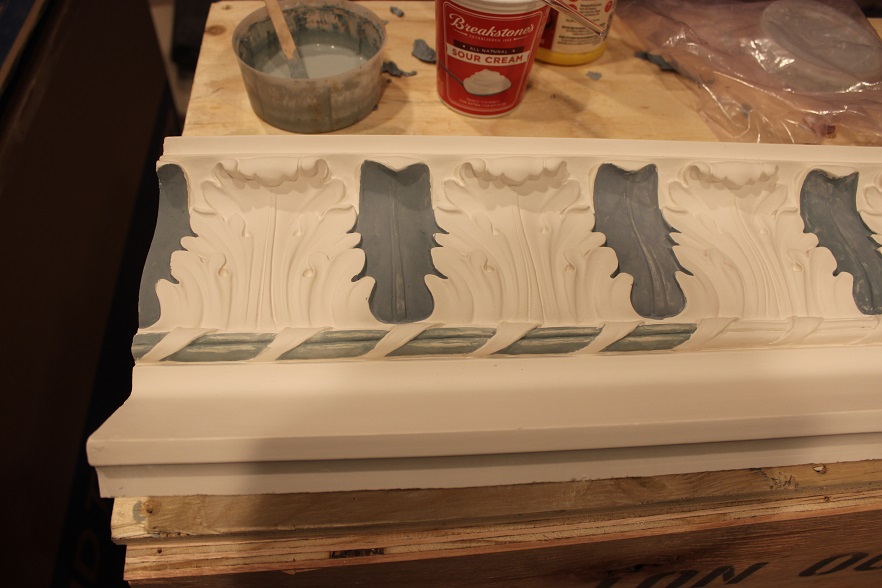
There was a recent extensive restoration project at the Mellon Auditorium, in Washington DC. Several companies and contractors each got a slice of the pie, and I got a couple crumbs from one of those companies for doing the gilding of the doors in the main hall.


The first finished door leaf
.


There were 11 sets of double doors and two pair of doors with lion's head carvings either side of the stage, in the front of the auditorium. The company that commissioned me to do the gilding was responsible for the restoration of those doors and the framework surrounding them.


One of four "lion doors" these were my favourite


"Close up" of the lion. Very nicely carved


All the doors had been removed and were restored in their facility, which made it much more convenient for gilding than if they had to be done in place, however, the frames and transoms were not easily removed, so they had to remain in situ. Thus, after completing the doors, I had to work at the auditorium for a couple weeks, gilding those parts. 


Gilding a transom. Thank you to Christian for the photo


It was a big project, but I thoroughly enjoyed it, and was happy to have a job doing so much gilding, since I love working with gold leaf. In the end, the project turned up well and everyone was very happy with all of the work done. The auditorium is now finished and dazzling again, as when it was newly built, nearly one hundred years ago.


A finished pair installed


Each door leaf is over three metres tall and 75mm thick. They are constructed of oak and are so heavy that it requires two men to carry a single leaf. Even so, when one is in the auditorium, they actually appear tiny and almost insignificant.


View from the balcony looking towards the stage


Videre Scire

Saturday, November 9, 2024

A Nice Commission

Last summer, I got a commission from St Dominic's Church in Washington DC, to carve the Four Evangelist symbols for the reredos in the church. Of course I was delighted, since this is "right up my alley", when it comes to medieval art. This gave me an opportunity to make something in the medieval style which as regular followers will know, is my true passion. As a starting point, I chose an 11th century image for St Mark, the lion, which is part of a silver and jeweled book cover. I then designed the other three characters to follow the same format, relying on other 10th and 11th century work to guide me. Father Schommer, of the church, allowed me complete freedom in my design. Our only discussion was that they would be gilded and have the backgrounds painted in. Of course, the size was determined by the placement of the roundels.


What follows are some pictures of the project as it unfolded.


I started with St Mark, as I had an image from a 11thc book cover


 The lion is also my sign, so I have a special affinity towards it


Nearly finished


The source of inspiration


One down, three to go.


St Luke follows Marc in the order

The carving well under way

And finished

Next was St John

This was my primary source of inspiration 10thc Ivory


One challenge to the design for St John was following the same format with one appendage holding the end of the scroll and another holding down the other end, but leaving some space. Anatomically, it did not work for his other foot to be in a similar position to what Mark and Luke had, so I came up with the idea of the wing tip holding down the other end; it works.


St Mathew, working out the design


The design for Mathew held even more challenges. I had thought that I would just follow another St Mathew that I had carved many years ago, but that did not work because his hands could not hold the scroll.


St Mathew and his symbol, Unfinished carving from 1998


I wanted to have him holding the scroll stretched out between his hands, but that left his centre open and did not work, also it did not have the feel of 10th or 11th century art to it. I finally thought of having one hand hold one end, and the other end "held" in his wing. It works, so I went with it.


this one needed a new plank of timber, as the other one was full

finished carving and ready for cutting out


the other three, all together and ready to cut out as well


After cutting them all out, which I never took a picture of, the next step was to prepare them all for gilding. This is done with several layers of gesso and red bole


Scraping the bole on St Johan


To give the carvings more of an authentic medieval look, I used a scraper and scraped the bole down, as opposed to sanding it. The results were much better even if it took much longer to do.


All ready for gilding


Genuine 23 karat "red gold" was used for the gilding.


Gilded, painted, lettered and ready to go


So small one can hardly see them, but they add a nice touch

Close-up of the left side

Close-up of the right side


Videre Scire


Sunday, October 13, 2019

Three Months of Painting

Somehow what I do keeps evolving. For a long time, I called myself a "cabinet Maker" but with an average of two commissioned pieces of furniture per year that did not seem like a very realistic title. At the same time, I have always found myself doing many other creative and artistic projects to earn my livelihood. For the past five years, I have simply been referring to myself as an "artist", which is what I have been all of my life anyway.

My latest project has again been in the field of artistic creativity and I have spent the last three months. (we are talking about 60+ hours per week) painting some large plaster cornice moulding. A part-time assistant also helped to sealed up the top and bottom border where the gilding was done.

Three pieces of finished moulding

The moulding comes from my friends at Decorator's Supply in Chicago Illinois. They have been producing plaster and compo mouldings and ornaments for more than a century and have some very nice products on offer. This particular plaster moulding was absolutely perfect to begin my project with. I usually do not like buying ready-made products because it means that someone else, somewhere in the world will also have the same product, but with this project, I knew the level of decoration that I was planning would truly make it 100 per cent unique and individual.

The mouldings come completely white, and crated up, six pieces to a crate. (Very heavy to move around) What follows is a picture sequence of most of the steps in decorating them.


The first step is to seal the top and bottom borders which will be gilded. After
that, the quatrefoils (four "petals" inside a "circle) all have to be filled in,
beginning with the middle. Since the piece is a "cove" moulding, it is easier to
shift the position to paint the upper and lower areas later

The piece has been shifted so that the lower quatrefoils can be painted
Some pieces had imperfections and bubbles which had to be fixed in the
process of doing the work


Once the middle and lower areas are complete the piece is turned upside-down
and the upper quatrefoils are then filled in. All of the paint is casein paint; it
works beautifully with the plaster. Once the "pink" is finished I move on to
a pale yellow and paint all the areas wanting that colour

Painting the "pink" is the most time consuming, taking more than one day for
each piece. The next most time is taken up with the mustard yellow...

...Half is done and then the moulding is turned back "right-side-up" to finish
The little knife I made a few years ago by hammering a nail until it had a
spring temper to it. It's shape is mostly what came of the hammering process
but it turned out to be a wonderful little tool and great for fixing minor slips
with the paint.

The green leaves follow. Most of the colours are applied in a wash so that
the plaster still shines through as can be observed in porcelain painting

A lighter "russet" wash and then a dark opaque add some colour to the flowers
which will remain white

The last step in the painting comes with manipulating a single colour of blue
to create an entire spectrum of colour for the remaining flowers
(in this picture, the paint is still wet)

For gilding, I used a "slow set" oil size. This meant that in the evening, before
going home, I would need to apply it, and on the following day (12 hours
later) apply the leaf.

I lay all the leaf on and then press it down on simple reliefs such as this

The top is more complicated so it must be applied and pressed down as I go
The drops of size on the paper speak for themselves as to why it is there, but
all of these drops occurred in the course of doing 27 sections of moulding

The final product - almost. The flowers do not have as much definition once
the paint is dry...

...so a bit of clear shellac in places gives them back the look that they had
when wet

Quite surprising for myself, was the fact that in the course of three months of painting all of this I really never got burnt out and fed up with doing it. I was afraid that it would become drudgery, but up to the last one I was still actually enjoying painting these. Now I have to get the space ready for the installation... 

Stay tuned.


A larger section of one piece, showing the entire pattern
(This picture was taken before the last phase of enhancing the blue)


Sunday, January 27, 2019

...and so begins another year

I have not had much time to post anything on this blog lately and probably all of my readers are wondering what I have been up to.

The answer is that I have been very busy trying to get this room finished up for the client by the end of the month. I still have a ways to go, but am making progress.

Here are a few pictures for those who have been clamouring to see.


I forgot to take a picture before I started, but this is one just after things
got going. The big plywood boxes are full of the plaster cornice segments


The short answer is carving, painting, gilding, and finishing.

Once this room is finished I will put up some more pictures...stay tuned.